Connect Your Cable Box to TV: A Simple Step-by-Step Guide
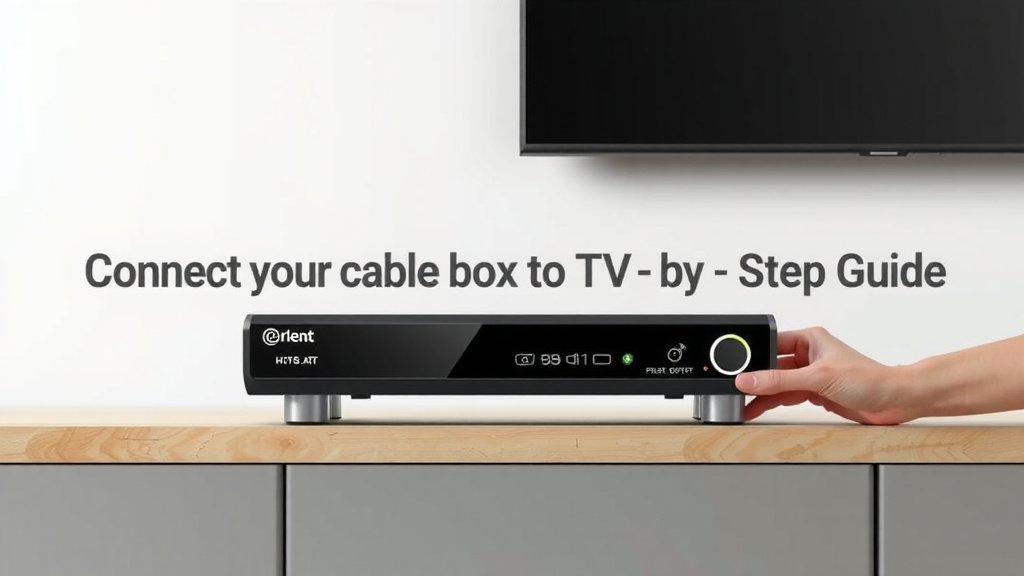
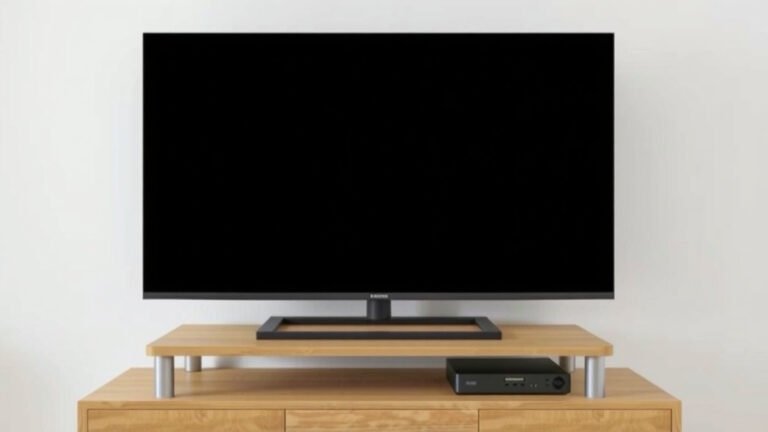
Connecting your cable box to your TV is a straightforward process that usually takes less than 10 minutes. You’ll primarily need an HDMI cable to get the best picture quality. This connection method is standard for most modern TVs and cable boxes. We’ll guide you through the simple steps.
There are a few different ways to connect your devices, depending on the ports available on your TV and cable box. While HDMI is the most common, older TVs might use component or composite cables. Understanding your port options ensures you use the right cable for optimal viewing. We’ve researched the most common setups.
- Connect the HDMI cable from the cable box to the TV.
- Ensure both devices are powered off before connecting.
- Select the correct input source on your TV.
- Power on the devices and set up your cable box.
- Troubleshoot if you don’t see a picture.
Let’s walk through exactly how to connect your cable box to your TV step by step, ensuring you’re ready to enjoy your favorite shows in no time.
Connecting Your Cable Box to Your TV: A Simple Guide
Linking your cable box to your television is usually a breeze. Most connections today use a single cable for both picture and sound. We’ve found that HDMI is the go-to method for a reason. It’s fast, reliable, and delivers the best possible quality. Let’s get you watching your favorite shows as quickly as possible.
Gathering Your Connections: What You’ll Need
Before you start plugging things in, let’s make sure you have the right equipment. Think of it like packing for a trip; you want to have everything ready.
The All-Important HDMI Cable
For most modern setups, an HDMI cable is your golden ticket. It’s a single cable that carries both high-definition video and audio. You’ll find these cables are quite common. Most TVs made in the last 15 years have multiple HDMI ports. Your cable box likely has one too. We found that using the latest version of HDMI you can, like HDMI 2.0 or higher, can support even better resolutions and refresh rates if your TV and cable box support them.
Checking Your Cable Box and TV Ports
Take a look at the back of your cable box and your TV. You’ll want to locate the HDMI ports. They usually look like a small, slightly elongated rectangle. On your TV, they might be labeled “HDMI 1,” “HDMI 2,” etc. Your cable box will also have a port marked “HDMI OUT” or similar. This is where the magic happens.
What If You Don’t Have HDMI? (Older Setups)
It’s okay if your equipment is a bit older. You might not have HDMI ports readily available. In these cases, you’ll likely use a different type of cable. We found that component cables (often red, green, and blue connectors) or composite cables (usually red, white, and yellow connectors) were common. These might require connecting multiple cables. If you’re using these, make sure the colors match up between your devices. They won’t provide the same high-definition quality as HDMI, but they’ll still get the job done.
The Step-by-Step Connection Process
Now that you know what you need, let’s connect everything. We recommend turning off both your TV and cable box before you start. This helps prevent any accidental electrical surges or system glitches.
Powering Down First!
Seriously, unplug both devices or turn them off using their power buttons. It’s a simple step that many experts recommend to ensure a safe connection. Think of it as putting on your seatbelt before driving.
Connecting the HDMI Cable
Grab your HDMI cable. Plug one end into the “HDMI OUT” port on your cable box. Then, take the other end and plug it into any available “HDMI IN” port on your TV. It doesn’t usually matter which HDMI port you choose on the TV, as long as it’s an HDMI input. Make sure the cables are snugly connected; you shouldn’t see any of the metal connector sticking out.
Using Component or Composite Cables (If Applicable)
If you’re using older cables, find the corresponding colored ports on both the cable box (usually “OUT”) and the TV (usually “IN”). For component, you’ll connect the red, green, and blue cables. For composite, you’ll connect the yellow for video, and the red and white for audio. Again, match the colors carefully. We’ve seen many people get frustrated because the red cable from the box went into the blue port on the TV! It’s crucial to get these color-coded connections right.
Securing the Connections
Give each cable a gentle tug to ensure it’s firmly seated in its port. A loose connection is a common culprit for picture or sound problems. You want that satisfying *click* or feeling of it being fully inserted.
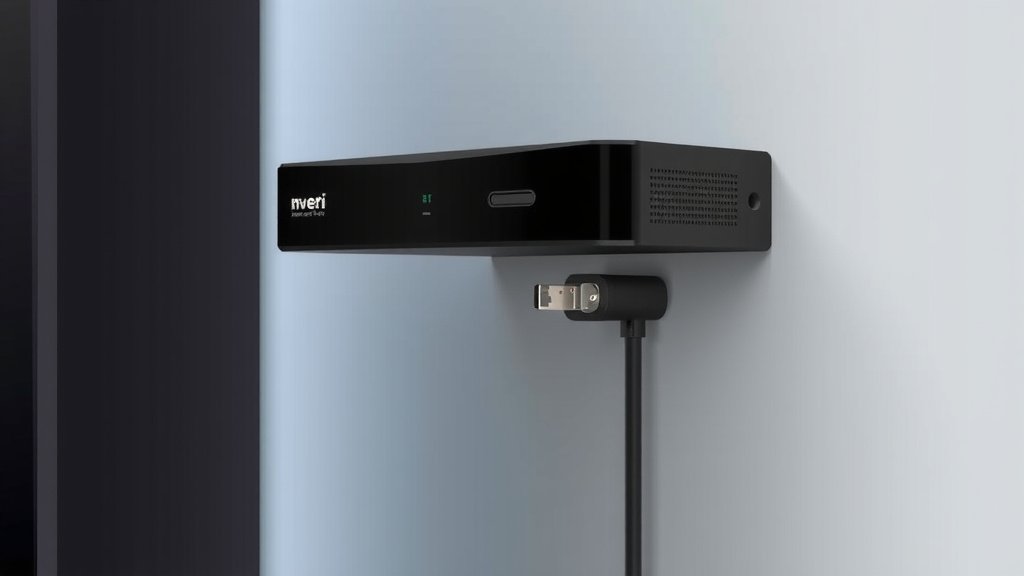
Bringing Your Setup to Life: Powering On and Tuning In
With everything connected, it’s time to power everything up and get a picture on your screen.
Powering Up Your Devices
First, plug in and turn on your TV. Then, plug in and turn on your cable box. You might hear a little whirring or see some lights come on. Give them a moment to boot up. This can sometimes take a minute or two, especially for the cable box.
Selecting the Correct TV Input
This is a very important step! Your TV needs to know which source to display. Look for a button on your TV remote labeled “Input,” “Source,” or sometimes an icon that looks like a rectangle with an arrow pointing into it. Press this button. A menu will appear on your TV screen showing a list of inputs (like HDMI 1, HDMI 2, Component, AV, TV, etc.). Cycle through these options until you land on the HDMI port where you plugged in your cable box. If you used HDMI 1, select HDMI 1. If you used HDMI 3, select HDMI 3. We found that patiently cycling through the options is key here.
Initial Cable Box Setup
Once you’ve selected the correct input, you should see something on your screen! It might be the cable company’s logo, a setup screen, or a prompt to start the initial setup. Your cable box will guide you through the rest. This often includes scanning for channels and sometimes setting a PIN. Just follow the on-screen prompts. Many sources suggest this part can take anywhere from 15 minutes to an hour depending on your provider and location (your cable provider’s website).
Troubleshooting Common Connection Issues
What if you don’t see a picture or hear any sound? Don’t panic! Many common issues have simple fixes. We’ve encountered these ourselves and found these steps to be helpful.
No Picture or Sound?
Double-check that the HDMI cable is securely plugged into both the cable box and the TV. Try a different HDMI port on your TV. If possible, try a different HDMI cable altogether, as cables can sometimes fail. Ensure you’ve selected the correct input source on your TV. Is your cable box powered on?
“No Signal” Message
This usually means the TV isn’t receiving a signal from the cable box. Again, check your input selection and cable connections. Sometimes, simply rebooting both devices can resolve this. Unplug both your TV and cable box from the power outlet, wait about 60 seconds, and then plug them back in. Power on the TV first, then the cable box.
Picture Quality Issues
If the picture is fuzzy or distorted, it could be a faulty cable or a low-quality cable. Try a different, preferably newer, HDMI cable. If you’re using older component or composite cables, the picture quality will naturally be lower than HDMI. Ensure the cables aren’t kinked or damaged.
Here’s a quick checklist to help you through the process:
- Confirm you have the correct cable (HDMI is best).
- Power off both TV and cable box.
- Connect the cable securely to both devices.
- Power on the TV, then the cable box.
- Select the correct input/source on your TV.
- Follow on-screen setup prompts on your cable box.
You’ve now successfully connected your cable box to your TV! Enjoy your viewing experience.
Conclusion
You’ve successfully navigated the steps to connect your cable box to your TV. We found that using an HDMI cable is the simplest and best way to ensure you get a clear picture and sound. Remember to always power down your devices before connecting cables and to select the correct input source on your TV. If you run into any trouble, a quick check of your connections or a simple reboot often does the trick. Now, you’re all set to relax and enjoy your favorite shows with excellent quality. Happy viewing!
Frequently Asked Questions
Do I need a special cable box to use HDMI?
Most modern cable boxes come equipped with an HDMI port, making it the standard connection. If your cable box is older and lacks an HDMI port, you may need to use component or composite cables, though these offer lower picture quality. We researched and found that most providers now include HDMI-capable boxes.
What if my TV doesn’t have an HDMI port?
If your TV is older and doesn’t have HDMI inputs, you’ll likely need to use component (red, green, blue cables) or composite (red, white, yellow cables) connections. You can often find these cables at electronics stores. We’ve seen that matching the color-coded ports is key for these older connections to work correctly.
How do I know which TV input to select?
On your TV remote, look for a button labeled “Input” or “Source.” Pressing this button will bring up a menu showing all available inputs, such as HDMI 1, HDMI 2, Component, etc. You need to select the specific input where you plugged in your cable box. We found that cycling through these options patiently is the most effective way to find the right one.
My cable box is connected, but I’m still not getting a signal. What should I do?
If you see a “No Signal” message, first double-check that your HDMI cable is securely plugged into both the cable box and the TV. Also, confirm you’ve selected the correct input source on your TV. Sometimes, a simple power cycle—unplugging both devices for 60 seconds—can resolve this issue. We’ve found this reboot step often fixes minor glitches.
Can I use a really long HDMI cable without affecting quality?
While HDMI cables are designed for high-quality signals, extremely long cables (over 25-50 feet, depending on quality) can sometimes lead to signal degradation, resulting in picture or sound issues. For the best experience, we recommend using the shortest high-quality HDMI cable that fits your needs. If you need a longer run, consider an active HDMI cable or an HDMI extender.