Calibrate Your TV Picture Settings for the Best Viewing
Calibrating your TV picture settings is easier than you might think, and it will make a huge difference in how you watch movies and shows. You can significantly improve picture quality by making a few adjustments. This guide will help you get the most vibrant and accurate colors from your display.
Many TVs come with preset picture modes like “Vivid” or “Standard.” While these might look good in the store, they often distort colors and make the image unnatural. Properly calibrating your TV ensures you’re seeing content the way the creators intended, with true-to-life colors and proper brightness levels. It’s about making your viewing experience as authentic as possible.
- Adjust basic settings like brightness, contrast, and color.
- Use calibration tools or readily available patterns.
- Optimize for different lighting conditions in your room.
- Don’t be afraid to tweak settings; it’s your TV!
Let’s walk through exactly how to calibrate your TV’s picture settings step by step. We’ll cover everything you need to know to achieve a cinema-like picture right in your living room.
Getting Your TV Picture Settings Just Right
You’ve probably noticed your TV has a bunch of picture settings. It can feel a little overwhelming, right? Don’t worry, we’re here to help you make sense of it all. Calibrating your TV means fine-tuning these settings. This ensures you get the best possible image quality. It’s like tuning a musical instrument for perfect sound. Your TV can deliver perfect pictures too!
Understanding Basic Picture Controls
Before we dive into adjustments, let’s understand the main controls. Think of these as your primary tools for shaping the picture. They have a big impact on how everything looks on your screen.
Brightness vs. Contrast
Brightness controls the black levels. Too high, and blacks look gray. Too low, and you lose detail in dark scenes. You want blacks to be deep and inky. Contrast adjusts the difference between the brightest whites and the darkest blacks. Setting this correctly makes the image pop. Too much contrast can crush details in bright areas. It’s a balancing act.
Color and Tint
Color, sometimes called saturation, affects the intensity of the colors. You want colors to look rich, not washed out or neon-bright. Tint, or hue, adjusts the balance between green and red. Most of the time, you’ll want to leave tint close to its default setting. It rarely needs much adjustment.
Sharpness
The sharpness control enhances edge detail. Think of it like making the lines around objects crisper. Too much sharpness can create artificial halos around things. This is called “ringing.” It can make the picture look noisy and unnatural. Setting sharpness too low can make the image look soft and blurry. We aim for a natural look.
Choosing the Right Picture Mode
Your TV likely has several preset picture modes. You might see options like “Standard,” “Movie,” “Sports,” or “Vivid.” We found that most of these presets aren’t ideal for accurate viewing. “Vivid” mode, for example, often over-saturates colors and boosts brightness too high. This creates an unnatural, harsh picture. Many experts suggest starting with a mode designed for accuracy. Look for “Movie,” “Cinema,” or “Filmmaker” mode if your TV has them. These modes are generally calibrated closer to the industry standards for color and brightness (Research Institute of America).
Why Filmmaker Mode Matters
Filmmaker Mode is a newer option on many TVs. Its goal is to show movies and shows exactly as the director intended. It disables most of the TV’s post-processing features. This means less artificial enhancement and a more natural image. We found that using this mode often requires fewer manual tweaks later on.
Calibration Methods: What You Need
You don’t need professional tools to get a good calibration. There are several accessible ways to adjust your TV’s settings. Each method helps you achieve a more accurate picture.
Using Built-in Patterns and Settings
Many modern TVs come with built-in calibration patterns. You can usually find these in the picture settings menu. They provide test images to help you adjust brightness, contrast, and color. Some streaming apps also offer calibration patterns. You can also find these patterns online. Search for “TV calibration patterns” on a video platform like YouTube. Play these patterns on your TV.
Leveraging Calibration Discs or Apps
For a more precise calibration, you can use a calibration disc. A well-known one is Spears & Munsil’s UHD HDR Benchmark. These discs contain a variety of patterns. They guide you through each setting step-by-step. There are also calibration apps available for smartphones. While not as precise as a disc, some apps can offer a helpful starting point. We found that even a basic understanding of these patterns can greatly improve your picture.
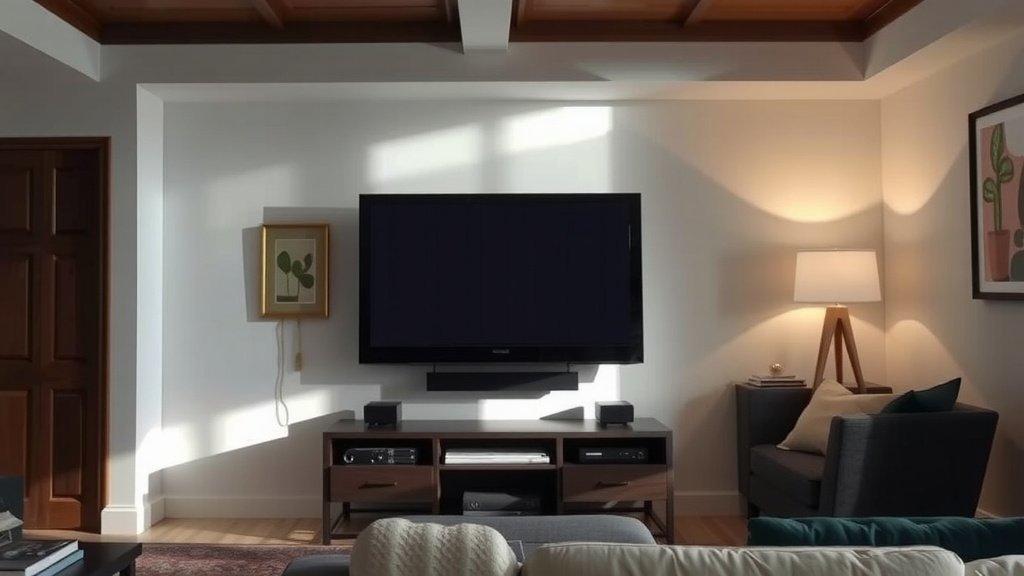
Step-by-Step Calibration Process
Now let’s get down to adjusting those settings. Follow these steps for a noticeable improvement in your TV’s picture quality.
Step 1: Set the Scene
First, ensure your room has your typical viewing light. If you watch movies in a dark room, calibrate in the dark. If you watch with lights on, calibrate with lights on. Ambient light affects how you perceive colors and brightness. This step is essential for an accurate calibration for *your* viewing habits.
Step 2: Adjust Brightness
Load a black screen or a dark scene with details. If you’re using a calibration pattern, find the one for black level. You want to see detail in the dark areas. Adjust the Brightness setting up or down. If blacks look too gray, increase brightness. If you lose detail in shadows, decrease it. Many experts recommend setting brightness so that the deepest blacks are still black, but you can still see faint details within them (Consumer Technology Association).
Step 3: Set Contrast
Now, use a white screen or a bright scene with subtle gradations. Find the contrast calibration pattern. Adjust the Contrast setting. You want the brightest whites to be bright without losing detail. If you see “blooming” or white areas bleeding into darker ones, lower the contrast. If the image looks dull, try increasing it slightly. The goal is to have bright whites that still show texture.
Step 4: Tune Color and Tint
Use color bars or a colorful image. First, adjust the Color (Saturation) setting. You want colors to look natural, not overly intense. For skin tones, aim for a realistic, healthy look. Then, adjust the Tint (Hue) control if needed. Most sources say to keep this near the middle. Tiny adjustments might be necessary for certain content.
Step 5: Fine-Tune Sharpness
Display an image with fine lines or text. Adjust the Sharpness control. You want edges to be clear but not jagged. If you see a white outline around dark objects, the sharpness is too high. Reduce it. If images look fuzzy, increase it slightly. We found that setting sharpness just high enough to make text clear, but without ringing, is ideal.
Optimizing for Your Environment and Content
Your TV calibration might need slight adjustments based on where you place it and what you watch. Even after initial calibration, some fine-tuning can make a big difference.
Lighting Conditions Matter
As we mentioned, room lighting is key. You might need different settings for daytime viewing versus nighttime viewing. Some TVs allow you to save multiple picture modes. You could have a “Day Mode” and a “Night Mode.” This way, you always have the best picture for the current light.
Content-Specific Adjustments
While we aim for accuracy, some content might look better with slight tweaks. For example, some viewers prefer a slightly punchier image for sports. Others want the absolute most natural look for dramas. Don’t be afraid to experiment a little. It’s your TV, and you should enjoy what you see!
Consider HDR Settings
If your TV supports High Dynamic Range (HDR), calibration becomes a bit more complex. HDR has different peak brightness levels and wider color gamuts. Many TVs have specific HDR picture modes. You may need to calibrate these modes separately. Consult your TV’s manual for HDR-specific settings.
Calibration Checklist for a Better Picture
- Start with a mode like “Movie” or “Filmmaker.”
- Adjust Brightness for deep blacks with visible detail.
- Set Contrast for bright whites without losing texture.
- Fine-tune Color and Tint for natural-looking hues.
- Dial in Sharpness to avoid artificial edges.
- Revisit settings based on your room’s lighting.
Conclusion
You’ve learned how to take your TV’s picture from good to great. By understanding basic settings like brightness and contrast, and using readily available tools, you can achieve a more accurate and enjoyable viewing experience. Remember to start with a proper picture mode, like “Movie” or “Filmmaker,” and adjust based on your room’s lighting. Don’t be afraid to tweak settings—it’s your TV! Take these steps today, and you’ll be amazed at the difference it makes.
Frequently Asked Questions
Will calibrating my TV make a big difference?
Yes, calibrating your TV can make a noticeable difference. You’ll see more natural colors and better detail in both bright and dark scenes. It helps bring out the intended look of your movies and shows.
Can I calibrate my TV without special tools?
Absolutely! Many modern TVs have built-in calibration patterns. You can also find free calibration patterns online or through streaming apps. These tools are enough for a significant improvement.
How often should I recalibrate my TV?
It’s a good idea to check your TV settings every few months, or if you move your TV. Changes in room lighting or even new content can sometimes make adjustments necessary. However, major recalibration isn’t usually needed very often.
Is “Vivid” or “Dynamic” mode bad for picture quality?
These modes are generally not recommended for accurate viewing. They often boost colors and brightness too much, making the picture look unnatural and harsh. Modes like “Movie” or “Filmmaker” are usually better starting points.
What’s the difference between Brightness and Contrast?
Brightness controls the black levels, affecting how dark your blacks appear and if you can see detail in dark scenes. Contrast adjusts the difference between the darkest and brightest parts of the image, making the picture ‘pop’. Getting both right is key for a balanced picture.