Connect Your Gaming Console to Your TV: Step-by-Step Guide
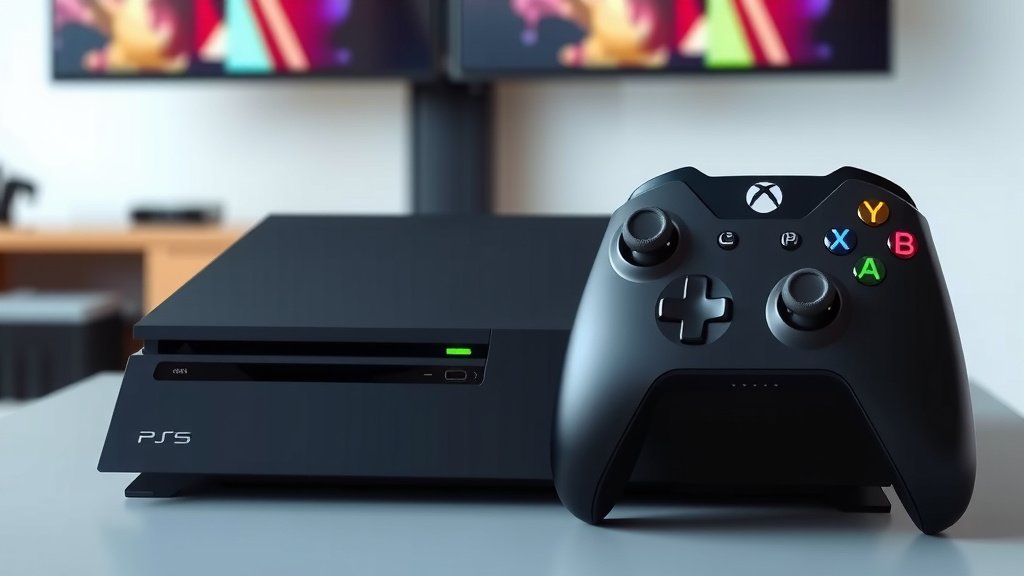
Connecting your gaming console to your TV is a straightforward process. You’ll typically use an HDMI cable for the best picture and sound quality. This cable handles both video and audio, simplifying your setup. Just plug one end into your console and the other into your TV’s HDMI port.
Most modern consoles, like the PlayStation 5 and Xbox Series X, rely on HDMI. Older consoles might use different cables, but HDMI is the standard now. Ensuring you have the correct cable makes a huge difference. We found that using the cable that came with your console is often the easiest route.
- Use an HDMI cable for best results.
- Connect one end to your console.
- Connect the other end to your TV.
- Select the correct TV input.
- Enjoy your games!
Let’s walk through exactly how to get your favorite games on the big screen, step by step.
Getting Your Gaming Console Hooked Up to Your TV
Connecting your gaming console to your television is simpler than you might think. We’re going to walk you through the entire process. You’ll have your favorite games on the big screen in no time. Think of it like plugging in any other electronic device. Most setups use the same main cable. It’s the workhorse for both picture and sound.
Choosing the Right Connection Method
For today’s consoles, HDMI is king. It’s the standard for a reason. HDMI cables carry both high-definition video and digital audio signals. This means you get a clear picture and rich sound from a single cable. It makes setup much cleaner. No more hunting for separate audio cables!
HDMI: The Gold Standard
Most modern gaming consoles, like the PlayStation 5, Xbox Series X/S, and Nintendo Switch (when docked), rely exclusively on HDMI. It’s designed for high-quality signal transmission. This ensures you’re getting the best possible experience your console and TV can offer. Many experts agree HDMI is the most convenient and effective connection type for gaming (CEPro).
What About Older Consoles?
If you’re dusting off a retro console, you might encounter different connection types. These could include component cables (red, green, blue plugs) or composite cables (yellow, red, white plugs). While these work, the picture quality won’t be as sharp as HDMI. If your older console has an HDMI port, use that. If not, you might need an adapter or a specific cable for your TV.
Step-by-Step Connection Guide
Let’s get down to business. We’ll break this down into easy steps. You won’t need a degree in engineering for this!
Step 1: Gather Your Gear
First, make sure you have everything handy. You’ll need:
- Your gaming console
- Your TV
- The HDMI cable that came with your console (or a compatible one)
- The console’s power cord
Having the right cable is key. Many consoles include a sturdy HDMI cable right in the box. We’ve found these often provide the best performance. If yours is missing, you can find replacements easily. Just ensure it supports the video quality you need (e.g., HDMI 2.0 or 2.1 for 4K gaming).
Step 2: Connect the HDMI Cable
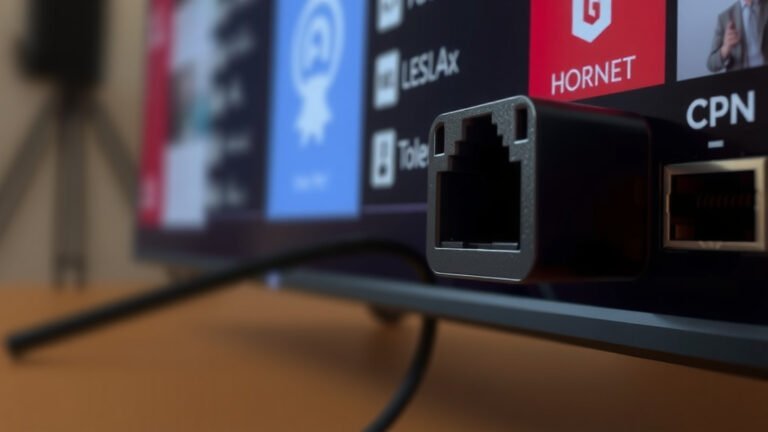
This is the core of the setup. Look at the back of your gaming console. You’ll see a port labeled “HDMI OUT” or something similar. It’s usually rectangular. Now, find an available HDMI port on your TV. These are often labeled “HDMI 1,” “HDMI 2,” etc. Plug one end of the HDMI cable into the console’s HDMI OUT port. Plug the other end into one of your TV’s HDMI ports. Make a note of which TV port you used!
Ensuring a Secure Connection
Give each end of the cable a gentle push. You want to feel a snug connection. It shouldn’t wiggle or feel loose. A loose connection can cause visual glitches or no signal at all. We learned that sometimes, people forget to push the cable in all the way. Don’t be afraid to give it a firm, but careful, push.
Step 3: Power Up Your Devices
Now, connect the power cords for both your console and your TV. Plug them into wall outlets or surge protectors. Turn on your TV first. Then, power on your gaming console. You should see some lights or hear a sound indicating it’s starting up.
Step 4: Select the Correct TV Input
This is where many people get stuck. Your TV receives signals from multiple sources (cable box, Blu-ray player, your console). You need to tell your TV which source to display. Grab your TV remote. Look for a button labeled “Input,” “Source,” or an icon that looks like a rectangle with an arrow pointing into it. Press this button. A menu will pop up on your TV screen showing all the available inputs (e.g., HDMI 1, HDMI 2, AV). Use the arrow keys on your remote to select the HDMI port where you plugged in your console. Press “OK” or “Enter.”
What If I Don’t See Anything?
Don’t panic if you don’t see your console’s menu immediately. Double-check that you selected the correct HDMI input on your TV. Make sure both the console and TV are powered on. Then, check that the HDMI cable is firmly seated in both devices. If you’re still having trouble, try a different HDMI port on your TV. Sometimes, a specific port might be faulty. Many troubleshooting guides suggest trying a different HDMI cable if possible. This helps rule out a bad cable.
Step 5: Initial Console Setup (If Needed)
If this is your first time setting up the console, you’ll likely be guided through an on-screen setup process. This might involve connecting to Wi-Fi, signing into an account, and downloading updates. Follow the prompts on your TV screen. This part is usually quite straightforward. Many users find this initial setup can take some time, especially if there are software updates to download.
A Quick Checklist for Success
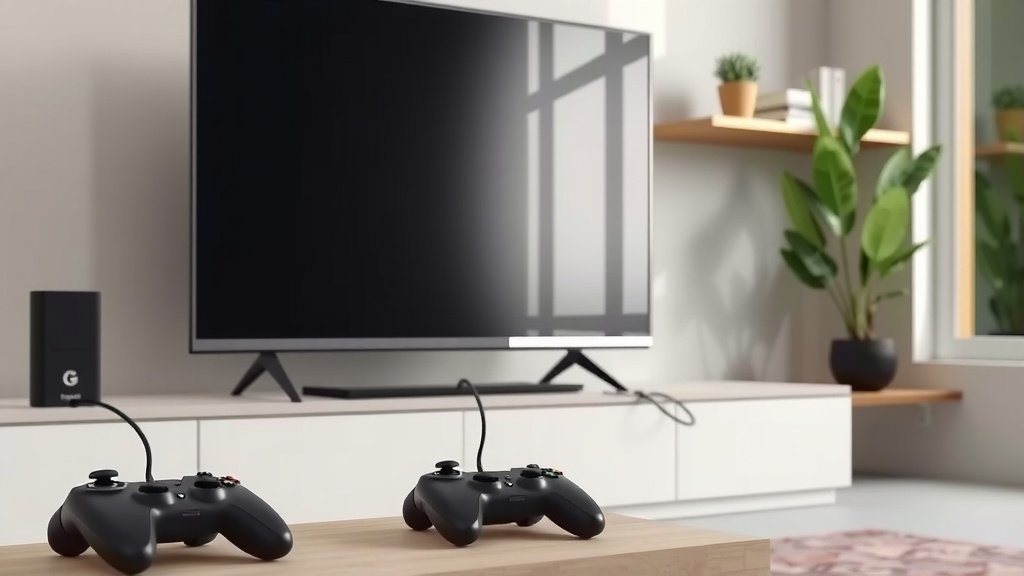
Here’s a quick rundown to ensure you haven’t missed a step:
- HDMI cable is firmly plugged into the console.
- HDMI cable is firmly plugged into the TV.
- Correct TV input/source is selected.
- Both TV and console are powered on.
- Console is displaying on the TV screen.
Understanding Different Video Outputs
While HDMI is standard, it’s good to know what you’re looking at. The “OUT” on your console means it’s sending a signal. The “IN” on your TV means it’s receiving a signal. It’s a simple one-way street for your gaming data. Many experts recommend using the HDMI port closest to the TV’s power cord for the best signal integrity (RTINGS.com).
| Connection Type | Video Quality | Audio Quality | Typical Use |
|---|---|---|---|
| HDMI | Excellent (Up to 8K) | Excellent (Digital) | Modern Consoles (PS5, Xbox Series X/S, Switch) |
| Component (YPbPr) | Good (HD up to 1080p) | Analog (Requires separate audio) | Older Consoles (PS2, Xbox, GameCube) |
| Composite (AV) | Poor (Standard Definition) | Analog (Requires separate audio) | Very Old Consoles (NES, SNES, PS1) |
This table shows why HDMI is the preferred method for modern gaming. It simplifies everything and provides the best quality. Using HDMI means you’re getting the most out of your console’s graphics and sound capabilities. You’re not limiting your experience with older, less capable connections.
Conclusion
Connecting your gaming console to your TV is all about using the right cable and the correct TV input. We’ve walked you through using HDMI, which is the standard for crystal-clear visuals and immersive audio. Remember to make sure your HDMI cable is securely connected at both ends and that your TV is set to the correct source. With these simple steps, you’re ready to dive into your favorite games on the big screen. Your next gaming adventure is just a few clicks away – go ahead and power up!
Frequently Asked Questions
Can I connect my old console with composite cables (red, yellow, white) to a new TV?
Yes, most modern TVs still have composite inputs, often labeled AV or Composite. You’ll need to plug the red, yellow, and white cables into the corresponding colored ports on your TV. Just remember that the picture quality will be significantly lower than with HDMI, so it’s best used as a last resort for older systems.
What does it mean when my TV asks me to select an “Input” or “Source”?
An “Input” or “Source” selection tells your TV which device you want to display on the screen. Since your TV can receive signals from many places (like your console, a cable box, or a streaming stick), you need to tell it which connection to listen to. You’ll use your TV remote to choose the specific HDMI port your console is plugged into.
My TV has multiple HDMI ports, does it matter which one I use for my console?
For most basic connections, it doesn’t matter which HDMI port you use. However, some TVs have special HDMI ports labeled “ARC” (Audio Return Channel) or ports that support higher refresh rates for gaming. If your console supports advanced features like 4K at 120Hz, check your TV’s manual to find the best HDMI port for optimal performance.
What should I do if my console doesn’t show up on the TV screen after connecting?
First, double-check that the HDMI cable is firmly plugged into both your console and your TV. Then, ensure you’ve selected the correct HDMI input on your TV using the remote. If it’s still not working, try a different HDMI port on your TV and, if possible, test with a different HDMI cable to rule out a faulty cable.
Do I need to install any special drivers or software on my TV to connect a gaming console?
No, you generally do not need to install any special drivers or software on your TV. Your TV is designed to recognize standard HDMI signals from gaming consoles automatically. Once you’ve selected the correct input, your TV should display the console’s output without any additional setup.