Master Your TV Picture Settings for Stunning Visuals
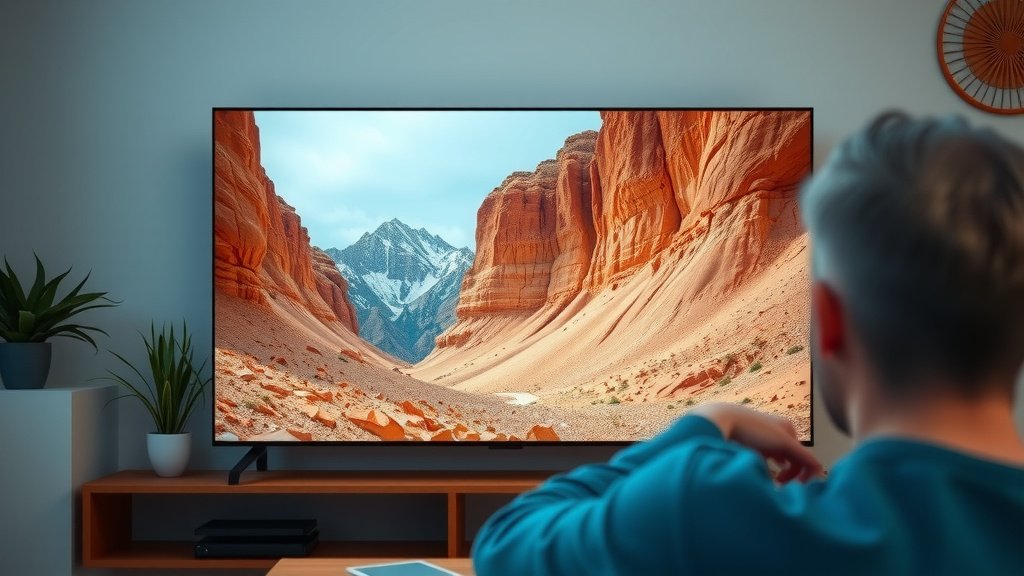
To get the best picture on your TV, start by adjusting your picture settings. Many TVs come with generic modes that don’t look great. Switching to a mode like ‘Movie’ or ‘Cinema’ often provides the most accurate colors and contrast right out of the box.
Beyond basic settings, consider your viewing environment and the content you’re watching. Factors like ambient light and the quality of your video source can dramatically impact how good your picture looks. Optimizing these elements makes a big difference.
TL;DR:
- Adjust your TV’s picture mode to ‘Movie’ or ‘Cinema’.
- Turn off motion smoothing features.
- Check your TV’s brightness and contrast settings.
- Ensure your source is high quality.
Let’s walk through exactly how to get your TV looking its absolute best.
Making Your TV Picture Pop: Expert Tips
So, you’ve got a new TV, or maybe your current one just isn’t looking as vibrant as you’d hoped. You’re probably wondering, “How can I get the best possible picture on this thing?” You’re in the right place! Let’s dive into the settings and techniques that will make your favorite shows and movies truly shine.
Most TVs come with a default setting that’s designed for bright showrooms, not your cozy living room. These settings often oversaturate colors and boost contrast to an unnatural level. We’re going to help you escape that visual trap.
Understanding Your TV’s Picture Modes
Think of picture modes like different outfits for your TV. Some are casual, some are formal, and some are just plain unflattering. Most TVs offer several presets, and finding the right one is your first big step.
The Magic of ‘Movie’ or ‘Cinema’ Mode
As mentioned in the intro, the ‘Movie’ or ‘Cinema’ mode is usually your best friend. Why? Because these modes are calibrated to display content as the filmmaker intended. They offer a more natural color balance and better contrast. You’ll see deeper blacks and brighter whites without that artificial pop. Many sources, including TV manufacturers themselves, recommend these modes for accurate picture quality (Rtings.com). It’s like getting a professional tune-up for your screen.
Avoiding the ‘Vivid’ or ‘Dynamic’ Trap
You might be tempted by the ‘Vivid’ or ‘Dynamic’ modes. They certainly make things bright and punchy! However, these modes often crush details in both the dark and bright areas of the image. Colors can look oversaturated and just plain wrong. While it might look exciting for a few minutes, it tires your eyes and doesn’t show you the full picture. We want realism, not a cartoon.
Exploring Other Presets
Some TVs have modes like ‘Standard,’ ‘Game,’ or ‘Sport.’ ‘Standard’ can be a decent middle ground if ‘Movie’ isn’t quite to your taste. ‘Game’ modes often reduce input lag, which is great for gaming but might not be optimized for watching movies. ‘Sport’ can sometimes boost motion, which we’ll discuss later. Experiment with what feels best for your eyes, but always start with ‘Movie’ or ‘Cinema’ as your baseline.
Fine-Tuning Key Picture Settings
Once you’ve selected a mode, it’s time to tweak a few dials. Don’t be intimidated; these are straightforward adjustments that make a world of difference. Think of it like adjusting the seasoning on a delicious meal.
Brightness: Seeing in the Dark (and Light!)
This setting controls the black level of the picture. It’s not about how bright the overall screen is. You want to adjust this so that dark scenes are visible but still feel deep and black. Too high, and blacks turn into grays. Too low, and you lose detail in shadows. A good starting point is to find a setting where you can still see subtle details in very dark areas without them looking washed out. Many calibration discs or patterns (available online) can help you dial this in perfectly. We found that setting it too high is a common mistake.
Contrast: Making Those Whites Pop (But Not Too Much!)
Contrast controls the brightest parts of the image. You want enough contrast to make bright objects stand out, but not so much that you lose detail in bright areas, like the white of a cloud or a bright shirt. It works hand-in-hand with brightness. Setting it too high can make the picture look harsh and blown out. We suggest setting it so that bright whites look pure white without looking “hot” or losing their texture.
Color and Tint: Getting the Hues Just Right
The ‘Color’ setting adjusts the intensity of the colors. If it’s too high, reds might look like neon pinks. Too low, and everything looks muted and dull. ‘Tint’ (sometimes called Hue) adjusts the balance between green and magenta. Most modern TVs have pretty good defaults here, but if you notice skin tones looking a bit too green or red, you might need a slight adjustment. The goal is natural-looking skin tones and vibrant, yet realistic, colors.
Sharpness: The Double-Edged Sword
This setting can be tricky. Many people think more sharpness equals a clearer picture. That’s often not the case! Setting sharpness too high adds artificial edges and creates a “halo” effect around objects. This can make the picture look grainy and unnatural. Most experts recommend setting sharpness to its lowest or zero setting on many modern TVs, as the TV already does its own image processing. Sometimes, a tiny bit of sharpness is needed, but err on the side of caution. We found that turning it down often leads to a more pleasing image.
Taming Motion and Other Annoyances
Ever watched a movie and it looks like a soap opera? That’s likely a motion smoothing feature working overtime. Let’s turn that down.
Turning Off Motion Smoothing (The “Soap Opera Effect”)
This feature, often called Motion Interpolation, TruMotion, Auto Motion Plus, or similar, adds extra frames to video to make motion look smoother. While it can be good for fast-paced sports, it often makes movies and TV shows look artificial, like they were filmed with a video camera instead of a film camera. This is what causes the dreaded “soap opera effect.” Most professionals and critics agree that turning these features off results in a more cinematic look. Check your TV’s menus for settings like ‘Motion Smoothing,’ ‘Frame Interpolation,’ or ‘Judder Reduction’ and try turning them off entirely or setting them to the lowest possible setting. You’ll thank us later!
Backlight and OLED Light
These settings control the overall brightness of the panel. ‘Backlight’ is common on LED/LCD TVs, while ‘OLED Light’ is for OLED TVs. This setting is heavily dependent on your room’s lighting. In a bright room, you’ll want a higher setting to combat glare. In a dark room, you’ll want it lower to avoid eye strain and enjoy better black levels. Find a balance that’s comfortable for your viewing environment.
Don’t Forget Your Source!
Your TV can only work with the signal it receives. A fantastic TV with a poor quality source will still look bad.
Streaming Quality Matters
If you’re streaming, ensure you have a good internet connection and that your streaming service is set to its highest quality setting. Netflix, for example, offers different data usage settings that directly impact picture quality. A 4K stream requires significantly more bandwidth than an HD stream.
Blu-rays and Gaming Consoles
Physical media like Blu-rays and 4K Ultra HD Blu-rays generally offer the best picture quality because they aren’t compressed as much as streaming. For gaming consoles, make sure your console’s video output settings are configured correctly, often to 4K resolution and HDR if your TV supports it.
A Quick Checklist for Picture Perfection
Here’s a handy list to run through:
- Selected ‘Movie’ or ‘Cinema’ picture mode.
- Turned off motion smoothing (the “soap opera effect”).
- Adjusted Brightness for deep blacks.
- Tweaked Contrast for bright details.
- Set Sharpness to a low or neutral setting.
- Ensured your streaming or disc quality is high.
Conclusion
You’ve learned how simple adjustments can transform your TV viewing experience. By selecting the right picture mode, like ‘Movie’ or ‘Cinema,’ you’re already on your way. Fine-tuning settings such as brightness, contrast, and sharpness ensures you see every detail as intended. Remember to tame motion smoothing for a natural look and ensure your content source is high-quality.
Don’t let a dull picture happen to you! Take a few minutes today to apply these tips and see your favorite shows and movies like never before. Your eyes will thank you.
Frequently Asked Questions
Do I need to calibrate my TV with special equipment?
For most viewers, professional calibration isn’t necessary. Using the ‘Movie’ or ‘Cinema’ picture mode and making the basic adjustments we discussed will provide a vastly improved picture. Many online resources and calibration patterns can help you fine-tune settings yourself without expensive gear.
How do I know if my TV’s brightness and contrast are set correctly?
You can check brightness by looking at dark scenes; you should see details in shadows without the black areas turning gray. For contrast, ensure bright areas like white clouds have texture and aren’t just blown-out white. Many free calibration patterns available online can help you find the sweet spot for both.
Is it always bad to turn sharpness up on my TV?
Generally, yes. Setting sharpness too high adds artificial edges and can make the picture look grainy or unnatural. We found that on most modern TVs, it’s best to set sharpness to its lowest or neutral setting. The TV already processes the image, and excessive sharpness can degrade the picture quality.
What’s the difference between Backlight and Brightness settings?
Brightness controls the black levels of the image, affecting shadow detail. Backlight (or OLED Light) controls the overall brightness of the screen itself, impacting how vivid the picture appears, especially in different room lighting conditions. You’ll adjust backlight based on your room’s ambient light, while brightness fine-tunes the dark areas.
Can my internet speed really affect my TV picture quality?
Absolutely. If you’re streaming content, your internet speed directly impacts the quality. Streaming services adjust the video bitrate based on your connection. A slow or unstable connection can force the stream to a lower resolution or quality to avoid buffering, resulting in a softer or blockier picture.