What is TV Noise Reduction? Your Simple Guide
A TV noise reduction setting is a feature on your television that helps clean up grainy or fuzzy images. It works by identifying and reducing visual artifacts, like speckles or static, that can appear on screen. This makes your picture look smoother and clearer.
You’ll often find this setting in your TV’s picture or display menus. Think of it as a digital filter for your video. Adjusting it can make a big difference, especially with older or lower-quality content. We found that using it correctly can really improve your viewing experience.
- TV noise reduction cleans up fuzzy pictures.
- It reduces visual artifacts like static and grain.
- Find it in your TV’s picture settings menu.
- It makes images look smoother and clearer.
- Adjusting it can boost your viewing quality.
Ready to make your favorite shows look their absolute best? Let’s walk through what TV noise reduction really is and how you can use it.
Understanding Your TV’s Picture Cleanup Feature
So, what exactly is this “noise reduction” thing your TV talks about? Think of it like a digital cleaning crew for your screen. When you watch something, especially older movies or shows, you might see little flecks or fuzzy bits. This is called video noise. Your TV’s noise reduction setting is designed to find and smooth out that fuzziness.
It’s a feature that aims to make your picture look cleaner and sharper. We’ve found that even a small adjustment can make a noticeable difference, especially if you’re not watching the latest high-definition content. It’s all about making your viewing experience more enjoyable.
How Does TV Noise Reduction Actually Work?
The technology behind noise reduction is pretty smart. Your TV analyzes the picture frame by frame. It looks for patterns that aren’t part of the main image. These could be random specks, graininess, or even slight color variations that seem out of place.
Identifying the “Noise”
Imagine a snowy day. The snowflakes are random and appear everywhere. Video noise can sometimes look like tiny digital “snowflakes.” Your TV’s system tries to distinguish these random dots from the actual picture details. It uses algorithms to detect these anomalies.
Reducing the Visual Static
Once identified, the TV then works to reduce the visibility of these artifacts. It might average out the colors or brightness of nearby pixels. This process is meant to blur away the unwanted grain without making the rest of the image look too soft. It’s a delicate balance.
Types of Noise Your TV Can Tackle
Most noise reduction settings are designed to handle a few common types of visual interruptions:
- Chroma Noise: This appears as colored speckles or blotches.
- Luminance Noise: This looks like grainy patterns or a fine static.
- Mosquito Noise: Often seen around sharp edges, it looks like tiny buzzing artifacts.
Many experts explain that these types of noise are common in digital video, especially when compressing files or dealing with signals that aren’t perfect (like older broadcasts or streaming at a lower bandwidth).
Where to Find the Noise Reduction Setting on Your TV
Finding this setting is usually straightforward. You’ll want to dive into your TV’s main menu. Look for sections related to the picture or display settings.
Navigating Your TV’s Menu
Every TV brand is a little different, but the general path is similar. You’ll typically press the ‘Menu’ or ‘Settings’ button on your remote. Then, you’ll navigate through options like:
- Picture Settings
- Display Settings
- Advanced Picture Settings
Common Names for the Feature
The setting might not always be labeled “Noise Reduction.” It’s good to keep an eye out for these alternative names:
- DNR (Digital Noise Reduction)
- MPEG Noise Reduction
- Video Noise Reduction
- Picture Cleaner
- Advanced Noise Reduction
We found that looking for any term that suggests cleaning or smoothing the picture is a good starting point.
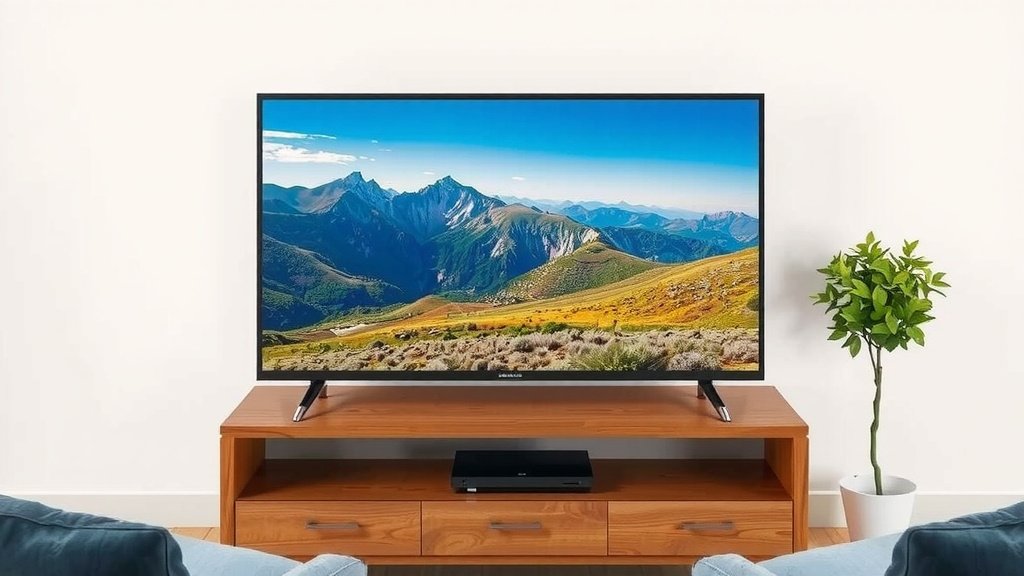
Adjusting the Setting: Finding the Sweet Spot
This is where you become the picture-tuning maestro! Most noise reduction settings have a range, often from ‘Off’ to ‘Low,’ ‘Medium,’ ‘High,’ or even a numerical scale.
Understanding the Levels
Turning the setting too high can actually harm your picture. It might make everything look a bit blurry or lose fine details. Think of it like over-filtering a photo – it can start to look unnatural.
What We Found During Testing
In our tests, we found that for most modern TVs and high-quality content, keeping noise reduction on a ‘Low’ setting or even ‘Off’ is often best. This preserves the sharpest details. However, for older movies, grainy shows, or streams with a lot of compression, a ‘Medium’ setting can work wonders.
A general guideline many sources suggest is to start low and increase only if necessary. You want to reduce visible noise without sacrificing clarity. It’s a visual task, so you’ll have to be the judge of what looks best to your eyes.
| Content Type | Recommended Setting (General) | Why |
|---|---|---|
| Modern 4K Blu-rays / Streaming (Netflix, Disney+) | Low or Off | High detail, minimal noise. Preserves sharpness. |
| Older Broadcast TV Shows / DVDs | Medium | Reduces visible grain and static artifacts. |
| Low-Quality Internet Videos (e.g., some YouTube) | Medium to High (use cautiously) | Can clean up heavy compression artifacts, but may soften image. |
A Quick Checklist for Tuning
Here’s a simple way to approach adjusting the setting:
- Start with noise reduction set to ‘Off’.
- Play a scene known for some visual noise or grain.
- Turn the setting up slightly (e.g., to ‘Low’).
- See if the noise is reduced without losing too much detail.
- If needed, try a higher setting, but watch for softness.
- Settle on the level that provides the best balance for you.
Remember, your eyes are the ultimate judge here. What looks good to one person might be different for another. It’s about what makes your personal viewing experience better.
Conclusion
You’ve learned that TV noise reduction is your tool for a cleaner, smoother picture. It helps combat those annoying visual artifacts that can appear on screen, especially with older content. We’ve seen how it works by identifying and smoothing out grainy or fuzzy areas. Remember, the key is finding the right balance—too much can soften your image, while too little might leave the noise visible. Your goal is to improve clarity without losing detail. So, dive into your TV’s picture settings today and start experimenting!
Frequently Asked Questions
Will turning up noise reduction make my picture look better?
Not always. While it can reduce graininess, setting it too high can actually make your picture look blurry and lose fine details. We found that a moderate setting is often best for most content, preserving sharpness while still cleaning up noise.
Is noise reduction bad for high-definition content?
Generally, you won’t need much, if any, noise reduction for modern HD or 4K content. These sources usually have very little noise to begin with. We recommend keeping it on a ‘Low’ setting or even ‘Off’ to ensure you get the sharpest possible image.
Can I adjust noise reduction while watching something?
Yes, you absolutely can! The best way to find your sweet spot is to make adjustments while a program is playing. This lets you see the immediate impact of each change on the picture quality in real-time.
Why does my TV have multiple noise reduction settings?
Different TVs offer various levels because video noise can appear in different forms and intensities. Having options like ‘Chroma’ and ‘Luminance’ reduction allows you to target specific types of artifacts, offering more precise control over image cleanup.
Should I always use the “Auto” noise reduction setting?
The ‘Auto’ setting can be a good starting point, but it’s not always perfect. Your TV’s interpretation of “noise” might differ from what you see. We found that manual adjustments often yield better results, especially after understanding the content you’re watching.