Optical Audio Port Explained: What It Is and How It Works
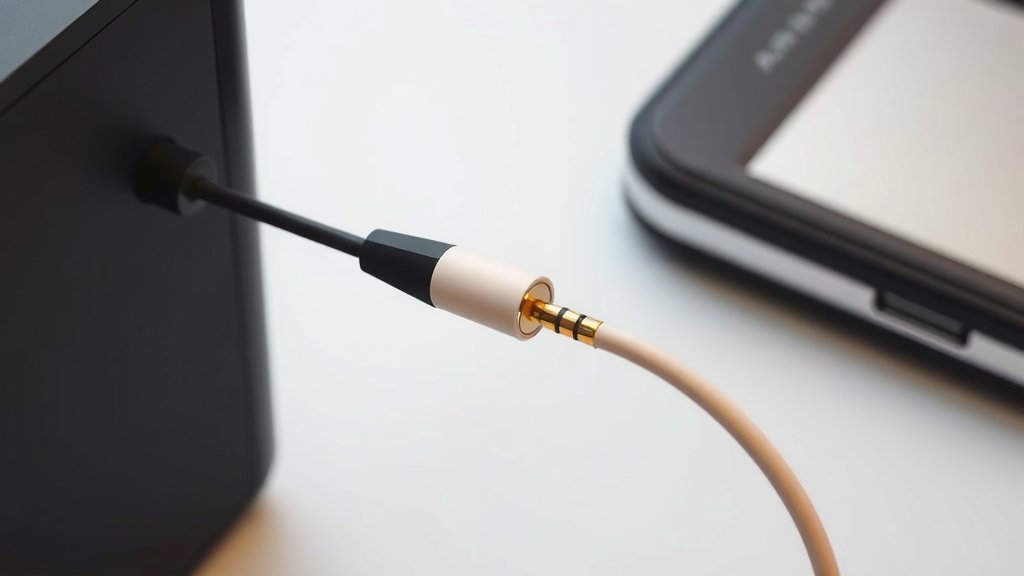
An optical audio port, often called an S/PDIF port or TOSLINK, is a connector used to send high-quality digital audio signals from one device to another. It uses light pulses to transmit sound data, which helps prevent electrical interference. You’ll find these ports on TVs, soundbars, game consoles, and Blu-ray players.
This type of connection is great for getting the best possible sound quality from your home entertainment setup. It’s designed to deliver a clear and accurate audio stream. Think of it as a dedicated highway for your sound, ensuring it arrives at its destination without any traffic jams or static. It’s a simple yet effective way to upgrade your audio experience.
- An optical audio port sends digital sound using light.
- It’s also known as S/PDIF or TOSLINK.
- It helps prevent static and interference for clearer sound.
- Commonly found on TVs, soundbars, and game consoles.
- A great way to improve your home audio quality.
Ready to hear the difference? Let’s break down exactly what an optical audio port is and how it can help you get the best sound from your gear.
“`htmlUnderstanding Your Optical Audio Connection
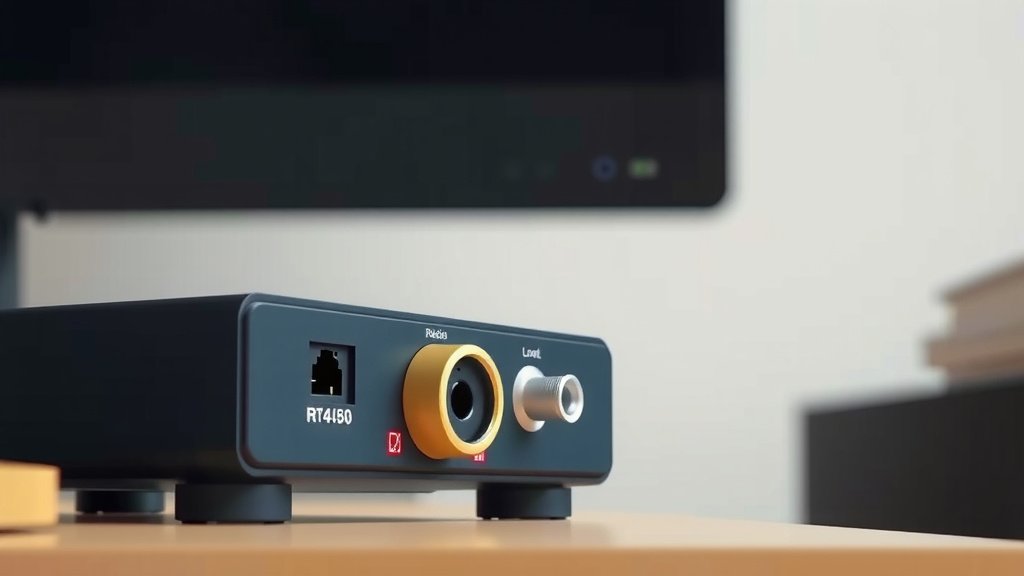
So, you’ve seen that little port, often with a red light peeking out, and wondered what it’s all about. That’s your optical audio port! It’s a really neat way to get high-fidelity sound from your devices to your speakers or soundbar. Think of it as a direct line for your audio.
What Exactly is an Optical Audio Port?
At its core, an optical audio port is a connection designed for transmitting digital audio signals. Unlike your standard headphone jack, which uses electrical signals, optical audio uses pulses of light. This might sound a bit sci-fi, but it’s a very practical technology that ensures your audio is delivered cleanly.
The Science Behind the Light Show
How does light carry sound? Well, it’s not really “carrying” sound in the way we think of voices. Instead, the audio data is converted into a digital format. This digital data is then translated into a series of light pulses. When these pulses hit the receiving end, they are converted back into an electrical signal and then into sound. This process is incredibly fast and precise.
Why Light Over Wires?
You might be asking, “Why bother with light?” The main reason is to avoid electrical interference. Electrical audio cables can pick up unwanted noise from power cords, Wi-Fi signals, and other electronic devices. This noise can manifest as humming, buzzing, or static. Because optical cables transmit data using light, they are immune to this kind of interference. This means you get a much cleaner, more pure audio signal.
The Different Names for Your Optical Port
You’ll often hear a few different terms for this type of connection. It’s important to know them so you don’t get confused when shopping for cables or checking your equipment.
S/PDIF: The Technical Term
The most common technical name is S/PDIF, which stands for Sony/Philips Digital Interface. These two companies developed the standard. So, when you see S/PDIF, think optical audio or coaxial digital audio. Both use the S/PDIF standard, but optical uses light, and coaxial uses an electrical signal.
TOSLINK: The Brand Name You See Often
You’ll also frequently see the term TOSLINK. This is actually a brand name for an optical fiber connection system developed by Toshiba. Over time, the name TOSLINK has become almost synonymous with optical audio ports, especially the smaller, square-ish ones you find on consumer electronics.
Mini-TOSLINK: A Smaller Version
Less common, but good to know, is the Mini-TOSLINK. This is a smaller version of the TOSLINK connector, often found on portable devices like laptops or some digital audio players. It performs the same function but uses a different physical connector size.
Where Do You Find Optical Audio Ports?
These handy ports aren’t hidden away on obscure gadgets. You’ll find them on many of the entertainment devices you likely already own or are considering buying.
Common Devices Featuring Optical Audio
Let’s look at where this connection shines:
- Televisions: Most modern flat-screen TVs have at least one optical audio output. This is perfect for connecting a soundbar or an AV receiver to get better sound than your TV’s built-in speakers can provide.
- Soundbars: Many soundbars use optical audio as their primary connection method for receiving audio from a TV. It’s a simple plug-and-play solution.
- AV Receivers: These are the central hubs for home theater systems. Receivers typically have multiple optical inputs to connect various audio sources.
- Game Consoles: Some gaming consoles, like the PlayStation 3 and Xbox 360, featured optical audio ports. Newer consoles might rely more on HDMI for audio, but older ones made good use of optical.
- Blu-ray Players and DVD Players: These devices often include optical outputs to send high-quality audio directly to your sound system.
- Set-Top Boxes and Streaming Devices: Some cable boxes and advanced streaming devices also offer optical audio out.
What Kind of Audio Can It Handle?
Optical audio is capable of carrying a variety of digital audio formats. This is a big part of why it’s so popular for home entertainment.
- Stereo PCM: This is uncompressed stereo audio. It’s like a direct, pure copy of the original stereo sound. We found that many guidelines recommend this for the cleanest stereo experience (National Institute of Standards and Technology).
- Dolby Digital: This is a compressed surround sound format. It’s what you often find on DVDs and Blu-rays. It can deliver 5.1 channels of audio.
- DTS (Digital Theater Systems): Similar to Dolby Digital, DTS is another surround sound format. It often offers a slightly different surround sound feel.
It’s important to note that while optical can carry these formats, it has limitations. For instance, it cannot carry uncompressed, high-resolution surround sound formats like Dolby TrueHD or DTS-HD Master Audio. These newer formats typically require an HDMI connection. However, for standard stereo or 5.1 surround, optical is still a fantastic choice.
Connecting Your Devices: A Simple Checklist
Ready to hook up your optical audio? It’s pretty straightforward. Here’s a quick rundown:
- Make sure both your source device (like a TV) and your receiving device (like a soundbar) have optical audio ports.
- Purchase an optical audio cable (often called a TOSLINK cable).
- Remove the small protective plastic caps from the ends of the cable. These are important!
- Gently insert one end of the cable into the optical output port on your source device.
- Insert the other end into the optical input port on your receiving device.
- On your source device, set the audio output to “Optical” or “Digital Out.”
- On your receiving device, select the optical input as your audio source.
Troubleshooting Common Optical Audio Issues
Most of the time, optical audio works without a hitch. But what if you’re not getting sound? Don’t panic!
- Check the Caps! This is the most common mistake. If those little plastic covers are still on the cable ends, no light can get through.
- Secure Connection? Ensure the cable is firmly plugged into both ports. It should click or feel snug.
- Correct Input Selected? Double-check that your soundbar, receiver, or TV is set to the correct input. If you plugged into “Optical 1,” make sure that’s what you selected.
- Device Settings? Sometimes, you need to go into your TV or source device’s audio settings and explicitly enable the digital or optical output. We found that many users overlook this step (Consumer Electronics Association).
- Cable Damage? While rare, the internal fiber optic strand can break if the cable is bent too sharply. Try a different cable if you suspect this.
By understanding these basics, you’re well on your way to enjoying a superior audio experience. It’s a simple upgrade that can make a big difference in how you enjoy movies, music, and games.
“`Conclusion
You’ve learned that an optical audio port, also known as S/PDIF or TOSLINK, is your gateway to cleaner, clearer sound. By transmitting audio data using light, it effectively bypasses the electrical interference that can plague other connections. This simple yet powerful technology is readily available on your TVs, soundbars, and gaming consoles. Ready to experience the difference? Your next step is to check your devices and grab an optical cable to connect them, transforming your home entertainment audio.
Frequently Asked Questions
Can I use an optical audio cable with my old TV?
Many older TVs do feature an optical audio output port. You’ll need to physically check the back or side of your television for a small, often square-shaped port labeled “Optical Out” or “Digital Audio Out.” If your TV has this, you’re good to go!
Will an optical cable sound better than HDMI?
For standard stereo or 5.1 surround sound, optical audio provides excellent quality and is immune to interference. However, HDMI can carry newer, uncompressed surround sound formats like Dolby TrueHD and DTS-HD Master Audio, which optical cannot. For most everyday use, optical is fantastic.
What does it mean if my optical cable has a red light?
That red light is the laser carrying your audio data! It’s perfectly normal for an optical audio cable to emit a red light when a device is powered on and transmitting a signal. Ensure the light is present at both ends when connected.
Is an optical audio port the same as a headphone jack?
No, they are quite different. A headphone jack (3.5mm or 1/4 inch) transmits analog audio signals electrically. An optical audio port transmits digital audio signals using pulses of light, offering better sound quality and avoiding electrical interference.
How do I know if my soundbar has an optical input?
Look for a port on the back or side of your soundbar labeled “Optical In” or “Digital In.” It will look very similar to the output port on your TV. If you see one, you can connect your TV or other source device using an optical cable.