Set Up Your New TV: A Step-by-Step Guide
Setting up a new TV is usually a straightforward process. You can typically get your new TV connected and ready to watch in under an hour by following a few simple steps. Most modern TVs come with easy-to-understand on-screen guides to help you through.
This setup involves connecting the power and any external devices like cable boxes or game consoles. You’ll then navigate the initial setup menus, which often include connecting to your Wi-Fi and agreeing to terms. Many people find the initial setup quick and surprisingly hassle-free.
- Unpack your TV carefully.
- Connect the power cord and any other cables.
- Turn on your TV and follow the on-screen prompts.
- Connect to your home Wi-Fi network.
- Log in to any streaming apps you use.
Let’s walk through exactly how to get your new TV up and running, step by step.
Getting Your New Television Set Up and Running
Bringing home a new TV is exciting! You’re probably eager to start enjoying your favorite shows in stunning clarity. Setting it up is often simpler than you might think. We’ll guide you through each step so you can be watching your new favorite program in no time.
Unpacking and Placement: The First Steps
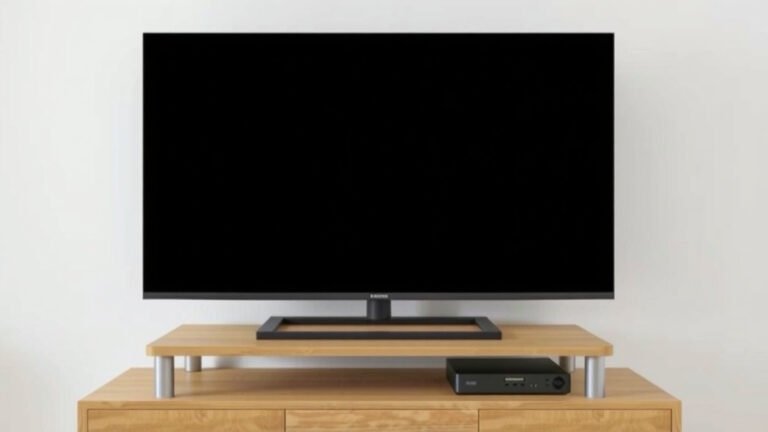
First things first, let’s get your TV out of the box. You’ll want to handle it with care. Most TVs are surprisingly heavy and delicate. It’s a good idea to have a second person help you lift it.
Choosing the Right Spot
Where will your new TV live? Consider the room’s layout and where you’ll be sitting. You want to avoid glare from windows or bright lights. Think about viewing angles too. Not everyone wants to sit directly in front of the screen!
Setting Up the Stand or Mount
Your TV likely comes with a stand, or you might have opted for a wall mount. If you’re using the stand, you’ll usually screw it into the bottom of the TV. Make sure you use the right screws provided. If you’re wall-mounting, this can be a bit more involved. It’s often best to consult the mount’s instructions closely or hire a professional if you’re unsure.
Connecting Your Devices: Bringing Your TV to Life
Now for the important part: connecting everything. This is where your TV starts to become the entertainment hub you’ve dreamed of. You’ll be plugging in power and all your other essential gadgets.
Powering Up
Find the power cord and plug it into your TV. Then, connect the other end to a wall outlet or a surge protector. Using a surge protector is a smart move; it can help protect your new investment from power spikes.
Connecting Your Sources
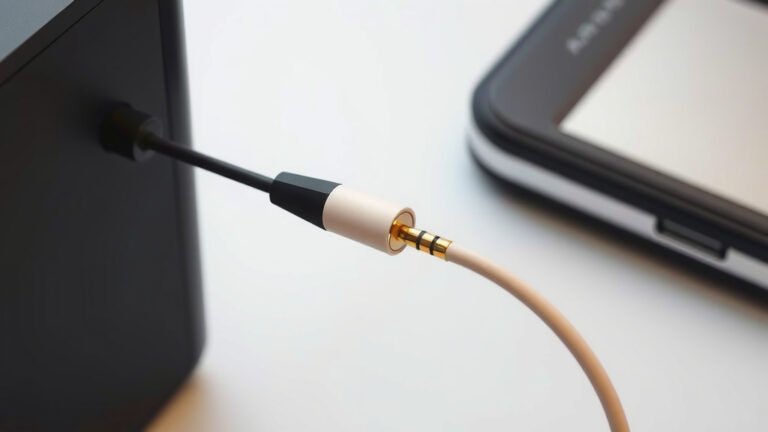
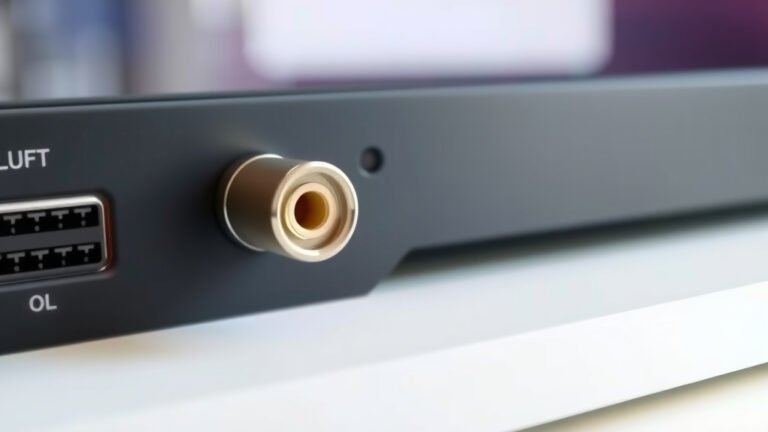
This is where you connect your cable box, streaming devices (like a Roku or Apple TV), game consoles, or Blu-ray players. Most modern TVs use HDMI ports for these connections. You’ll find them on the back or side of your TV.
Each HDMI port is numbered. It’s helpful to make a note of which device is plugged into which port. This will make switching between them later much easier. For example, you might plug your cable box into HDMI 1 and your game console into HDMI 2. Many experts recommend using the highest numbered HDMI port for your most frequently used device, though this is often a matter of personal preference (RTINGS.com).
Other Connections to Consider
You might also have other ports. An Ethernet port allows for a wired internet connection, which can be more stable than Wi-Fi. Some older devices might use component or composite cables, though these are becoming less common. And don’t forget the antenna if you plan to watch over-the-air broadcasts!
The Initial On-Screen Setup: Navigating the Menus
Once everything is connected, it’s time to turn on your TV. You’ll be greeted by an on-screen setup guide. Think of it as your TV’s friendly introduction. It walks you through the essential configurations.
Language and Region Selection
The first thing you’ll likely be asked is your preferred language and region. Choose these carefully, as they affect the TV’s menus and settings. This is a pretty straightforward step.
Connecting to Your Network: Wi-Fi or Ethernet
This is a key step for smart TV functionality. Your TV will scan for available Wi-Fi networks. Select your home network and enter your password. If you’re using an Ethernet cable, plug it into both your TV and your router, and your TV should connect automatically. A wired connection is often faster and more reliable for streaming (Consumer Reports).
Terms and Conditions Agreements
You’ll likely need to agree to terms of service and privacy policies. It’s good practice to at least skim these, though we understand many people don’t read them thoroughly. They explain how your data is used.
Channel Scanning (If Applicable)
If you’re using an antenna or cable, your TV will guide you through scanning for channels. This process searches for all available broadcast signals in your area. It can take a few minutes.
Logging In and Personalizing Your Experience
Your TV is almost ready for prime time! Now, you’ll want to personalize it with your favorite apps and services.
Account Logins for Streaming Services
This is where you’ll log in to services like Netflix, Hulu, Amazon Prime Video, and Disney+. You’ll use your existing account credentials. Some TVs allow you to do this using your phone or a computer, which can be easier than typing with a remote.
Setting Up Your Inputs and Remotes
Most TVs will let you rename your input sources. So, instead of “HDMI 1,” you could name it “Cable Box” or “Gaming Console.” This makes it easier to switch between them. You might also be prompted to set up your remote, perhaps pairing it with your TV or configuring any voice control features.
Picture and Sound Adjustments
While your TV might look great out of the box, you can often fine-tune the picture and sound. You’ll find settings for brightness, contrast, color, and motion smoothing. For sound, you might have options for different audio modes like “Movie” or “Music.” Many sources suggest starting with a “Standard” or “Movie” picture mode as a good baseline before making personal adjustments (CNET).
Software Updates
Your TV may need to download and install the latest software updates. This is important for security and to ensure you have access to the newest features. Let it do its thing; it usually doesn’t take too long.
A Quick Checklist for Success
Here’s a handy list to make sure you’ve covered all your bases:
- Ensure your TV is placed securely and at a good viewing height.
- Connect all necessary cables (HDMI, power, etc.).
- Power on the TV and follow the initial on-screen prompts.
- Connect to your home Wi-Fi network or use an Ethernet cable.
- Log in to your essential streaming and media accounts.
- Check for and install any available software updates.
Conclusion
You’ve successfully navigated the setup of your new TV! By carefully unpacking, connecting your devices, and following the on-screen prompts, you’ve prepared your entertainment hub. Remember to personalize your settings and log into your favorite streaming apps. Taking these steps ensures you’re ready to enjoy your new television to its fullest potential. Your next step is simple: grab some snacks and start watching!
Frequently Asked Questions
What’s the best way to connect my gaming console to my new TV?
For the best gaming experience, you’ll want to use an HDMI cable. Connect the console to one of the HDMI ports on your TV. Many modern TVs have specific “game modes” that can reduce input lag, so check your TV’s settings for this option.
Do I really need to update my TV’s software right away?
Yes, it’s a good idea to install software updates soon after setup. These updates often include important security patches and can improve performance or add new features. Your TV might prompt you to do this during the initial setup.
My new TV has a lot of settings – where should I start for picture quality?
You can start by selecting a picture mode like “Standard” or “Movie”. These modes are designed to provide a balanced picture out of the box. From there, you can fine-tune brightness, contrast, and color to your liking based on your room’s lighting.
What’s the difference between Wi-Fi and Ethernet for my TV?
Wi-Fi connects your TV wirelessly to your internet router. Ethernet uses a physical cable plugged directly into your TV and router. A wired Ethernet connection is generally more stable and faster than Wi-Fi, which can be better for high-quality streaming.
Is it okay to use a surge protector for my new TV?
Absolutely! Using a surge protector is highly recommended. It helps protect your new TV and other connected devices from sudden power surges or voltage spikes, which can cause damage.