How to Install a TV Mount: Step-by-Step Guide
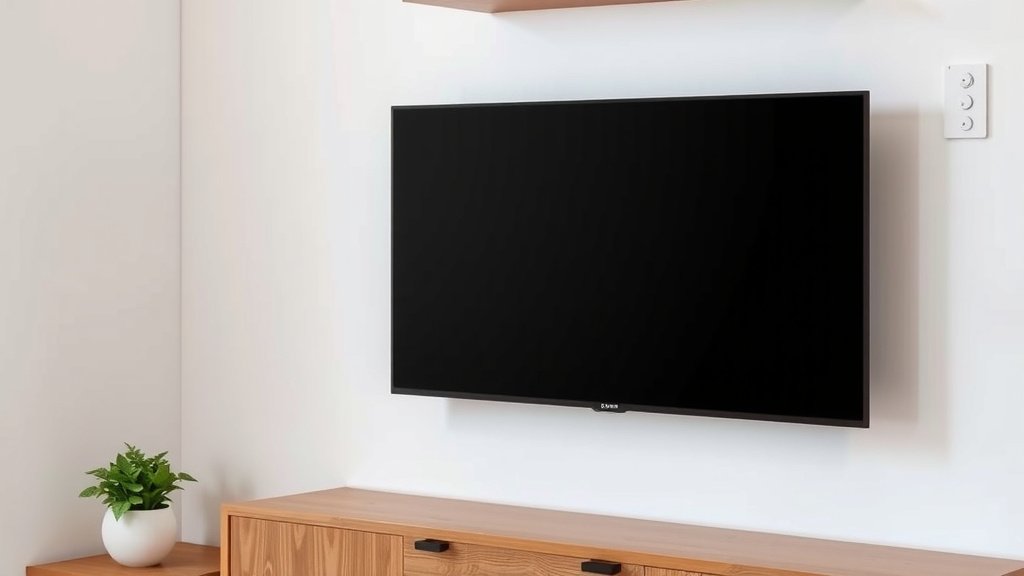
Installing a TV mount is a **straightforward DIY project** for most people. You can mount your TV securely by gathering the right tools and following a few key steps. This process typically involves finding wall studs, drilling pilot holes, and securing the mount. It’s a great way to **improve your viewing angles** and **save space**.
Many people worry about damaging their walls or dropping their expensive TV. However, with careful planning and the right hardware, mounting a TV can be a **rewarding and safe experience**. We found that many common household tools are all you need to get the job done correctly. Plus, it can really **transform your living room layout**.
- Gather your mounting kit, drill, and stud finder.
- Locate sturdy wall studs for secure attachment.
- Drill pilot holes before screwing in the mount.
- Ensure the mount is level and securely fastened.
- Attach your TV to the mount.
Ready to get your TV up on the wall? Let’s walk through exactly how to install a TV mount step by step so you can enjoy your new setup.
Mounting Your TV: A Step-by-Step Guide
You’re ready to get your TV off the stand and onto the wall. That’s fantastic! Mounting your television can instantly upgrade your viewing experience and free up valuable space. This process might seem a bit daunting, but we’ve broken it down into simple steps. You’ll be enjoying your new setup before you know it.
Preparing for TV Mount Installation
Before you even think about drilling, a little preparation goes a long way. Gathering the right tools and understanding your wall type are key. This ensures a secure and safe installation for your precious screen.
Essential Tools and Materials
You probably have most of what you need in your toolbox already. Here’s a quick rundown:
- TV Mount Kit: This should include the mount itself, mounting hardware (screws, bolts, washers), and often a template for drilling.
- Stud Finder: Absolutely essential for locating wall studs.
- Drill and Drill Bits: You’ll need bits for pilot holes and potentially larger ones for lag bolts.
- Level: To make sure your TV hangs straight.
- Measuring Tape: For precise placement.
- Pencil: For marking.
- Socket Wrench or Screwdriver: To tighten bolts and screws.
- Someone to Help: TVs can be heavy and awkward. A second pair of hands is incredibly useful.
Understanding Your Wall Type
The biggest factor in mounting success is what’s behind your drywall. For most homes, this means finding wood studs. These are the vertical beams that form the frame of your walls. Attaching your mount directly to studs provides the strongest possible hold.
If you have concrete or brick walls, the process is different. You’ll need specialized anchors and fasteners designed for masonry. Always check your mount’s instructions for compatibility with different wall types. For standard drywall, wood studs are your best friend. We found that using a good quality stud finder makes this step much easier.
Finding the Perfect Location
Choosing where your TV will live is more than just picking a spot. You want to consider viewing angles, glare from windows, and electrical outlets.
Identifying Wall Studs: Your Mount’s Best Friend
This is perhaps the most critical step. A TV mount attached only to drywall will fail, potentially causing damage and injury. Stud finders work in a few ways. Electronic stud finders use sensors to detect changes in density behind the wall. Magnetic stud finders locate the metal screws or nails used to attach drywall to studs.
How to find studs:
- Mark the center: Once you find a stud, use your pencil to mark the center.
- Check for edges: Move the stud finder horizontally to find the edges of the stud. Mark these too.
- Measure distances: In the US, studs are typically spaced 16 or 24 inches apart on center. If you find one stud, measure 16 or 24 inches over and you’re likely to find another.
- Confirm with a small nail: For extra certainty, you can gently tap a small finishing nail into your marked stud location. If it meets solid resistance, you’ve hit wood.
Many experts recommend using a stud finder app in conjunction with a physical one. Research suggests these apps can help narrow down potential locations before you use a physical tool (NCBI).
Determining the Right Height and Position
Think about where you’ll be sitting. The center of your TV screen should ideally be at or slightly below eye level when you’re in your primary viewing position. Too high, and you’ll be craning your neck.
Also, consider the size of your TV and the mount’s compatibility. Some mounts offer more flexibility in adjustment than others. If you have a tilt or swivel mount, you have more leeway in placement.
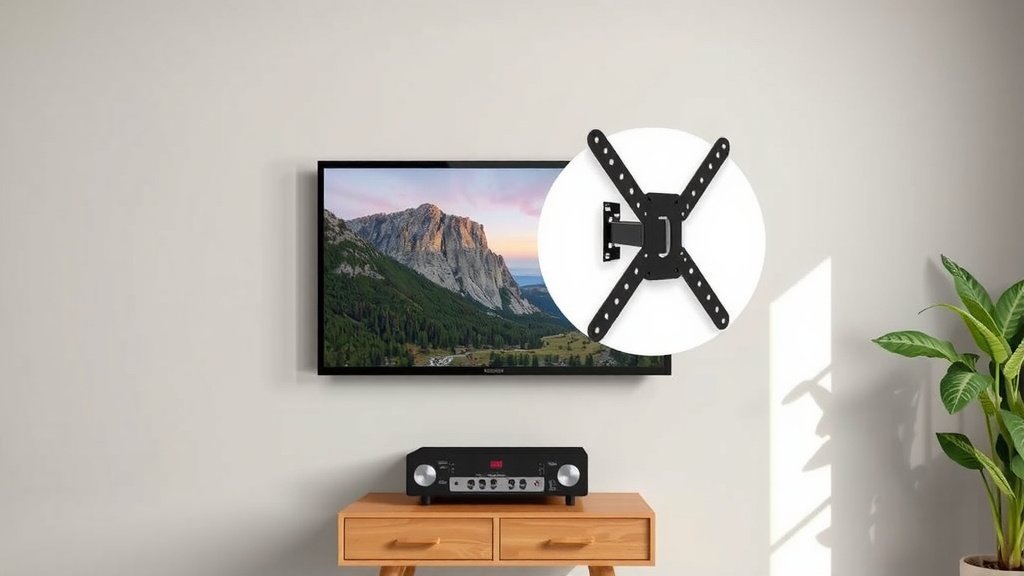
Mounting the Bracket to the Wall
Now for the actual mounting. This part requires precision and a steady hand. Remember, safety first!
Attaching the Wall Plate
Hold the wall plate of your mount against the wall at your desired height. Use your level to ensure it’s perfectly straight. Have your helper hold it steady while you mark the drill hole locations through the plate onto the wall.
Double-check your marks. Make sure they align with the center of the studs you located. If your marks are off, adjust them before drilling. This saves you from having extra holes in your wall.
Drilling Pilot Holes
Select a drill bit that is slightly smaller than the diameter of the lag bolts you’ll be using. This is important! Drilling pilot holes prevents the wood studs from splitting when you drive in the large lag bolts. It also makes driving the bolts much easier.
Drill your pilot holes straight into the studs at the marked locations. The depth of the hole should be sufficient for the lag bolts, typically about half the length of the bolt. We found that a good pilot hole makes a huge difference in how easily the lag bolts thread into the wood.
Securing the Mount
Now, position the wall plate over your pilot holes. Use your socket wrench or screwdriver to drive the lag bolts through the wall plate and into the studs. Tighten them firmly, but avoid over-tightening, which could strip the wood or the bolt head.
Give the mount a good tug. It should feel completely solid and secure. There should be no wobbling or shifting. If it feels loose at all, remove the bolts, re-examine your pilot holes and stud connection, and re-secure it.
Attaching the TV to the Mount
With the wall plate securely in place, it’s time to attach the brackets to your TV and then hang the TV. This is where that second pair of hands is truly invaluable.
Attaching Brackets to Your TV
Lay your TV face down on a soft, protected surface like a blanket or the original packaging foam. Locate the VESA mounting holes on the back of your TV. These are standardized sets of four threaded holes.
Consult your TV mount’s manual and your TV’s manual to identify the correct screws and any necessary spacers for attaching the TV brackets. Using the wrong screws can damage your TV. Thread the screws through the brackets and into the VESA holes on your TV. Tighten them securely.
Hanging the TV on the Wall Plate
Carefully lift your TV with your helper. Align the brackets on the TV with the wall plate attached to the wall. Most mounts have a system where the brackets hook onto the wall plate.
Gently lower the TV until it securely engages with the mount. You might hear or feel a click. Many mounts have safety screws or locking mechanisms to prevent the TV from accidentally coming off the mount. Make sure these are engaged.
Final Checks and Adjustments
Once the TV is hung, use your level again to confirm it’s straight. Make any necessary adjustments according to your mount’s instructions. Double-check that all safety locks are in place. Now, step back and admire your work! You’ve successfully mounted your TV.
Here is a checklist for your TV mounting project:- Gather all necessary tools and hardware.
- Locate at least two wall studs for secure mounting.
- Ensure the wall plate is level before drilling.
- Drill pilot holes into the center of the studs.
- Securely fasten the wall plate with lag bolts.
- Attach the TV to the mount and engage all safety locks.
Conclusion
You’ve learned that installing a TV mount is a manageable DIY project. By carefully preparing, locating wall studs, and following these steps, you can securely mount your TV. Remember to prioritize safety and double-check your work. You’re now ready to enjoy a cleaner look and a better viewing experience. Take that first step and get your TV up on the wall!
Frequently Asked Questions
What if I can’t find any wall studs?
If you’re on a wall without studs (like a concrete or brick wall), you’ll need to use specialized anchors designed for that material. Always check your mount’s instructions to ensure it’s compatible and use the correct hardware for a secure hold.
How do I know if my TV mount is compatible with my TV?
You’ll need to check the VESA mounting pattern on the back of your TV and compare it to the specifications of your mount. Most mounts will list the VESA sizes they support (e.g., 200x200mm, 400x400mm).
Can I mount a TV on a wall with plaster and lath instead of drywall?
Mounting on plaster and lath is possible but requires extra care. You’ll still need to find the wood lath behind the plaster. We found that using longer screws and potentially toggle bolts can help ensure a strong attachment.
What’s the best way to hang the TV by myself?
While a helper is highly recommended, if you must do it alone, consider using a TV-lifting strap designed for this purpose. Make sure the mount is fully secured to the wall before attempting to lift and hang the TV.
How tight should I make the lag bolts securing the mount?
Tighten the lag bolts until they are snug and the mount feels completely secure and doesn’t move. Avoid over-tightening, as this can strip the wood in the stud or damage the bolt head, compromising the mount’s stability.